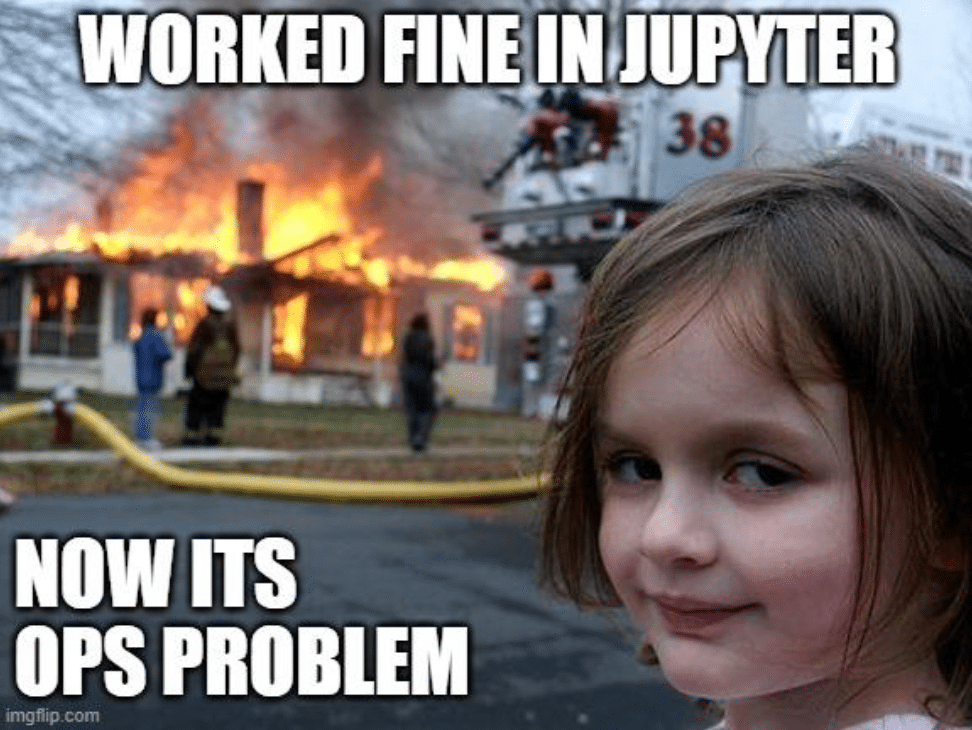
It Worked Fine in Jupyter. Now What?
Marcelo Litovsky | October 28, 2021
You got through all the hurdles getting the data you need; you worked hard training that model, and you are confident it will work. You just need to run it with a more extensive data set, more memory and maybe GPUs. And then...well.
Running your code at scale and in an environment other than yours can be a nightmare. You have probably experienced this or read about it in the ML community. How frustrating is that? All your hard work and nothing to show for it.
What are the Challenges?
Your coding style will impact how easy it is for others to take your code and run it elsewhere. For example, hardcoded parameters and file locations can make it difficult to move your code. Those are under your control. You can adopt best practices to make your code more portable. However, you still need to be aware of how your work will integrate with the release process. Is it flexible enough to be part of a CI/CD pipeline?
In today’s enterprise application world, you are dealing with several infrastructure as software technologies:
- Docker
- Kubernetes
- Cloud
- Virtual Machines
You can certainly learn all these technologies, but wouldn’t you rather focus on your model training instead? How awesome would it be if you could fully integrate with the infrastructure while concentrating 99% of your time on actual data science with the satisfaction of knowing that your AI/ML project can make it to production fast, at the speed of your business? This blog will explore how to use MLRun to quickly deploy applications, and run on Kubernetes without changing code or learning a new technology.
Getting Set Up
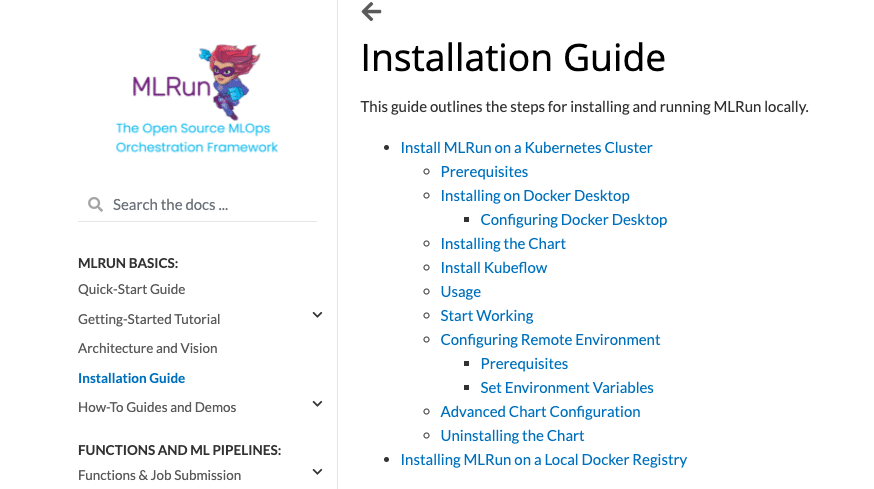
MLRun can be configured to run on Docker or Kubernetes. Docker Desktop gives you the most flexibility and faster path to run MLRun. We are doing this exercise working with MLRun using Kubernetes. You can follow the installation instructions here.
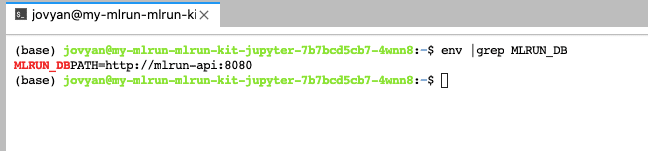
At the end of the installation, you should connect to the MLRun UI at http://localhost:30060.
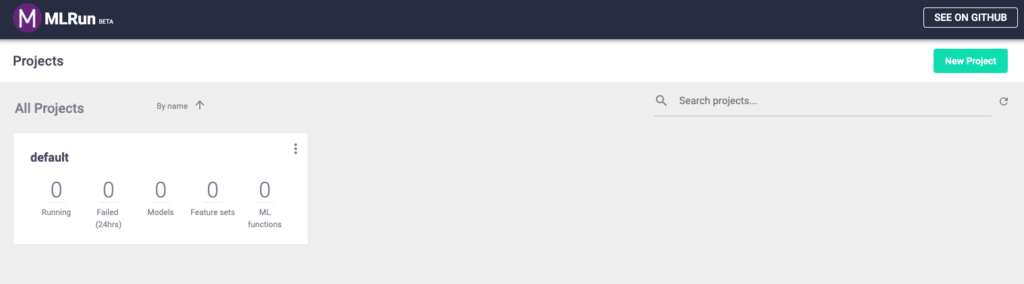
That is all it takes. You now have MLRun running on your environment! Here’s how to make your code run as a Kubernetes job, with little effort.
Your Development Environment
You can use the IDE of your choice to write your code. The MLRun documentation includes details on setting a Remote Environment using Pycharm, VScode, or other IDEs. For this exercise, we will use the Jupyter notebook service deployed with MLRun. The notebook is running on http://localhost:30040.
It Worked Fine in Jupyter. Now What?
Run it in Jupyter
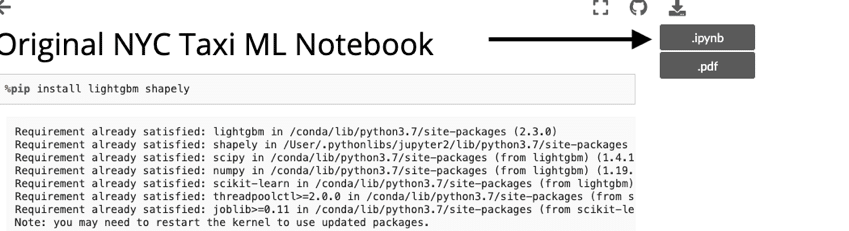
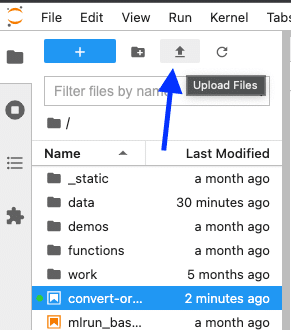
Now here’s what you came for: download a training notebook, run it in Jupyter, and then run it as a Kubernetes job. How hard can that be? Download the Notebook from the MLRun documentation and uploaded it to Jupyter. Then, run the notebook as-is to make sure it is working as expected.
Run it on Kubernetes
What will it take to run this code on Kubernetes? Are you thinking some yaml files, docker images, Kubernetes config? What is Kubernetes?
Calm yourself. We are going to take the code as-is and run it in Kubernetes with four lines of MLRun code. Create a new notebook and paste this code and run it:
from mlrun import code_to_function
fn = code_to_function('nytaxi', kind='job', filename='convert-original-code.ipynb',
requirements=['lightgbm', 'shapely'], image='mlrun/ml-models')
fn.deploy()
fn.run(project='nytaxi')
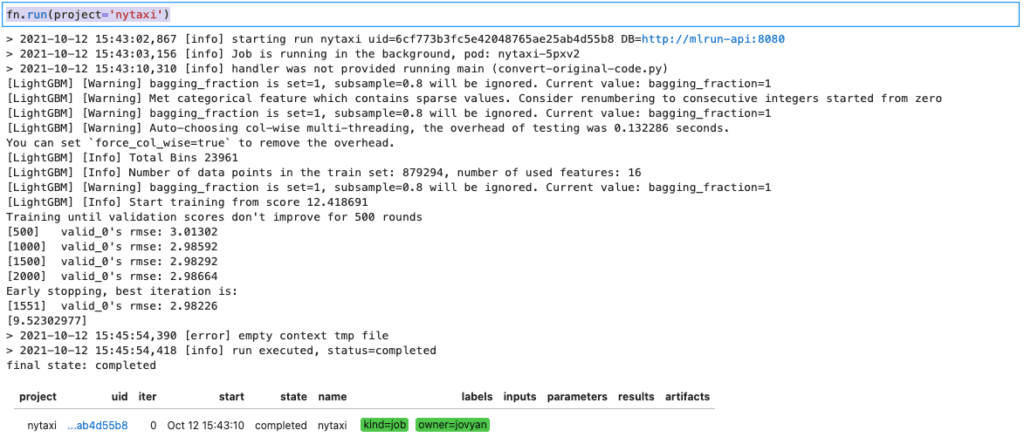
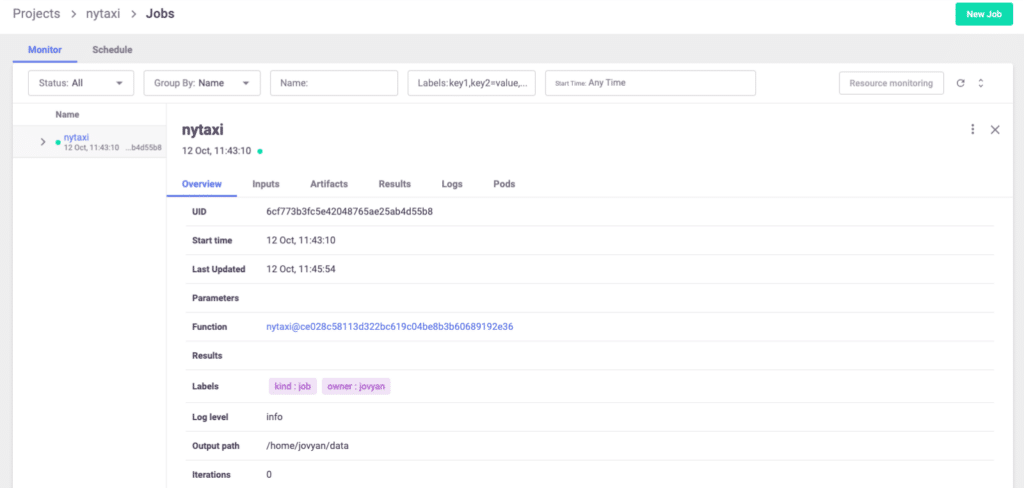
Those four lines of code carry a heavy load. The code ran in a pod as a Kubernetes job. You can see this in the output above, the pod name (pod: nytaxi-xxxx). The same code you tested locally in Jupyter is now running in a Kubernetes cluster. You are also on your way to tracking your experiments. Go to the MLRun UI to see your job execution.

Click on the name of the job name (nytaxi) to get additional details. I encourage you to explore the job details. MLRun keeps track of every execution of your job with detailed information related to the job.
What’s Next?
Running your code as-is is a good start, but the real value comes from keeping track of the details of your experiments. As you can see from the results above, those details are not populated. MLRun includes many more features, more than we can go over in this blog. You can start by reviewing the MLRun execution context in the documentation. Adding the context to your code will enable access to the MLRun API along with metadata, inputs, secrets, and more.
MLRun is an integral part of the Iguazio platform. Iguazio is an enterprise-ready MLOps platform that includes MLRun along with many other managed services.
To learn more about the Iguazio MLOps Platform, or to find out how we can help you bring your data science to life, contact our experts.