Ingesting and Consuming Files
Overview
This tutorial demonstrates how to ingest (write) a new file object to a data container in the platform, and consume (read) an ingested file, either from the dashboard or by using the Simple-Object Web API. The tutorial also demonstrates how to convert a CSV file to a NoSQL table by using the Spark SQL and DataFrames API.
The examples are for CSV and PNG files that are copied to example directories in the platform's predefined data containers. You can use the same methods to process other types of files, and you can also modify the file and container names and the data paths that are used in the tutorial examples, but it's up to you to ensure the existence of the elements that you reference.
Before You Begin
-
Follow the Working with Data Containers tutorial to learn how to create and delete container directories and access container data.
-
Note that to send web-API requests, as demonstrated in this tutorial, you need to have the URL of the parent tenant's webapi service, and either a platform username and password or an access key for authentication. To learn more and to understand how to structure and secure the web-API requests, see the web-APIs reference, and especially Data-Service Web-API General Structure and Securing Your Web-API Requests. (The tutorial Postman examples use the username-password authentication method, but if you prefer, you can replace this with access-key authentication, as explained in the documentation.) To understand how data paths are set in web-API requests, see RESTful Web and Management API Data Paths.
Using the Dashboard to Ingest and Consume Files
You can easily ingest and consume files from the dashboard.
Ingesting Files Using the Dashboard
Follow these steps to ingest (upload) files to the platform from the dashboard:
-
On the
Data page, select a container (for example, "bigdata") to display the containerBrowse data tab (default), which allows you to browse the contents of the container. To upload a file to a specific container directory, navigate to this directory as explained in the Working with Data Containers tutorial. -
Use either of the following methods to upload a file to the container:
-
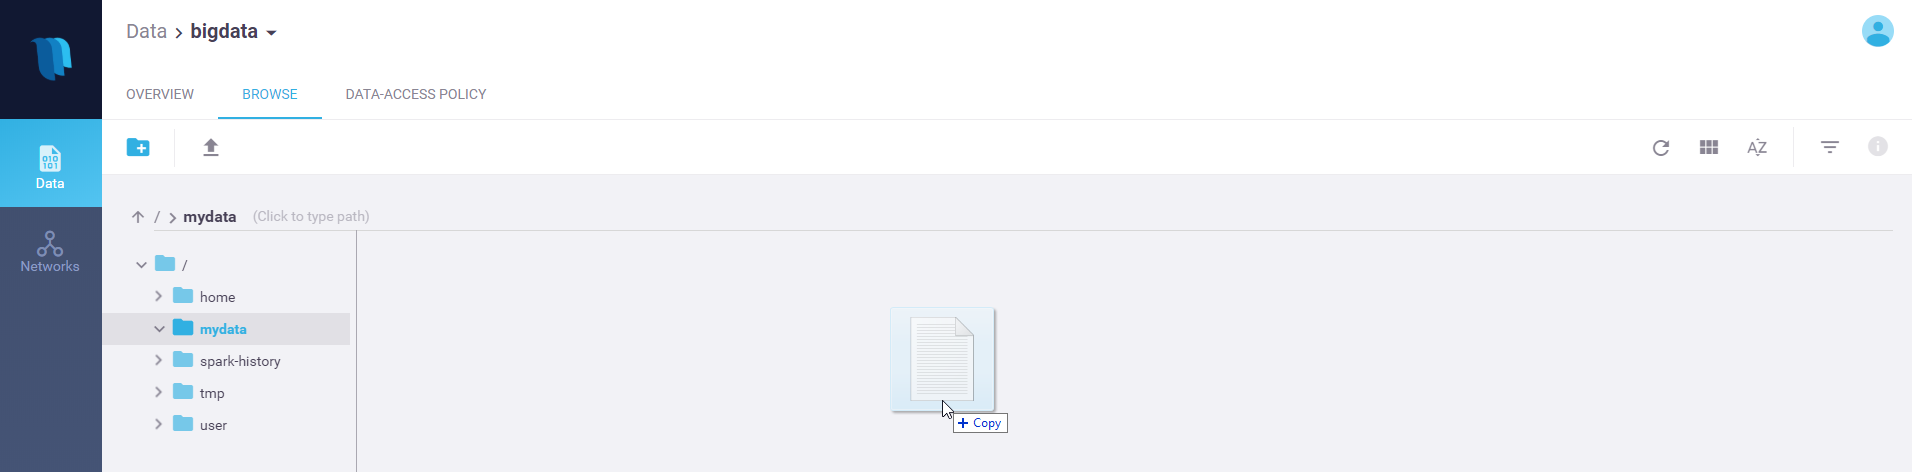
Simply drag and drop a file into the main-window area (which displays the container or directory contents), as demonstrated in the following image:
-
Select the "upload" icon () from the action toolbar and then, when prompted, browse to the location of the file in your local file system.
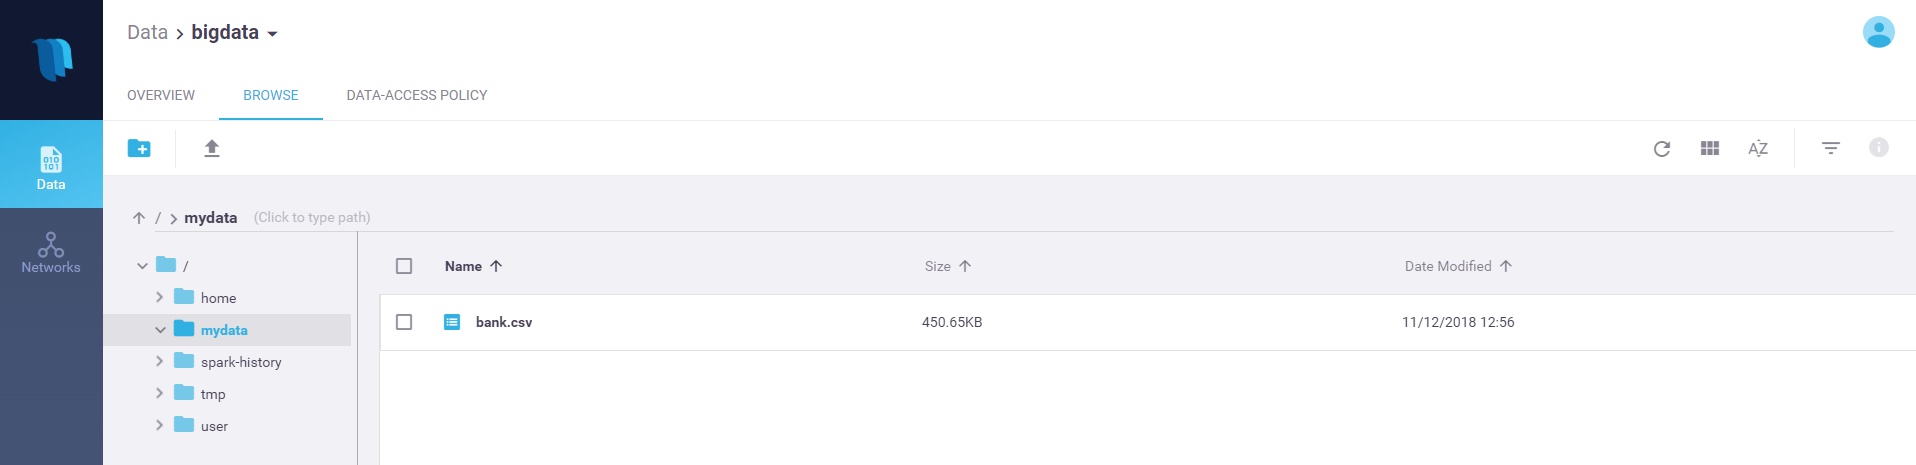
For example, you can download the example
bank.csv file and upload it to amydata directory in the "bigdata" container. Creating the directory is as simple as selecting the new-folder icon in the dashboard () and entering the directory name; for detailed instructions, see the Working with Data Containers tutorial. -
When the upload completes, you should see your file in the dashboard, as demonstrated in the following image:
Consuming Files Using the Dashboard
Follow these steps to retrieve (download) an uploaded file from the dashboard:
on the
Using the Simple-Object Web API to Ingest and Consume Files
You can ingest and consume files by sending Simple-Object Web API HTTP requests using your preferred method, such as Postman or curl.
Ingesting Files Using the Simple-Object Web API
You can use Postman, for example, to send a Simple-Object Web API
-
In the request URL field, enter the following; replace
<web-APIs URL>with the URL of the parent tenant's webapi service, replace<container name>with the name of the container to which you want to upload the data, and replace<image-file path>with the relative path within this container to which you want to upload the file:<web-APIs URL>/<container name>/<image-file path>For example, the following URL sends a request to web-API service URL
https://default-tenant.app.mycluster.iguazio.com:8443to upload a file namedigz_logo.png file to amydata directory in the "bigdata" " container:https://default-tenant.app.mycluster.iguazio.com:8443/bigdata/mydata/igz_logo.pngAny container directories in the specified
<image-file path>path that don't already exist will be created automatically, but the container directory must already exist. -
In the
Authorization tab, set the authorization type to "Basic Auth" and enter your username and password in the respective credential fields. -
-
Select the file format that matches the uploaded file. For an image file, select
binary . -
Select
Choose Files and browse to the file to upload in your local file system.
-
-
Select
Send to send the request, and then check the response.
For a successful request, you should be able to see the uploaded image file from the dashboard:
in the side navigation menu, select
Consuming Files Using the Simple-Object Web API
After you ingest a file, you can send a Simple-Object Web API
-
Enter the following as the request URL, replacing the
<...>placeholders with the same data that you used in Step #2 of the ingest example:<web-APIs URL>/<container name>/<image-file path>For example:
https://default-tenant.app.mycluster.iguazio.com:8443/bigdata/mydata/igz_logo.png -
In the
Authorization tab, set the authorization type to "Basic Auth" and enter your username and password in the respective credential fields. -
Select
Send to send the request, and then check the responseBody tab. The response body should contain the contents of the uploaded file.
Using XCP to Copy Files In and Out of the System
XCP is a fast directory copy to/from any combination of local files, AWS S3, and Iguazio V3IO.
Usage
xcp [flags] source dest
Example:
xcp -r -f *.ipynb v3io://webapi:8081/users/iguazio tsts8
Source and Destination
The source and destination are both URLs. For example:
S3 paths:
- s3://
/path - s3://<access_key>:<secret_key>@
/path
V3IO paths:
- v3io://<API_URL>/
/ - v3io://
: @<API_URL>/ / - v3io://:<session_key>@<API_URL>/
/
Local paths:
- path/to/files
- /opt/xyz
- c:\windows\path
Flags
|
|
Recursive (go over child dirs) |
|
|
filter string e.g. *.png |
|
|
include hidden files (start with '.') |
|
|
include empty files (size=0) |
|
|
maximum file size |
|
|
minimum file size |
|
|
minimal file time e.g. 'now-7d' or RFC3339 date |
|
|
log level: info | debug (default "debug") |
|
|
number of worker routines (default 8) |
Credentials
S3 credentials can be loaded from the standard environment variables (AWS_ACCESS_KEY_ID and AWS_SECRET_ACCESS_KEY). V3IO URL and credentials can be loaded from environment variables (V3IO_API, V3IO_USERNAME, V3IO_PASSWORD, V3IO_ACCESS_KEY).
Converting a CSV File to a NoSQL Table
The unified data model of the platform allows you to ingest a file in one format and consume it in another format. The [basic-data-ingestion-and-preparation] (https://github.com/v3io/tutorials/tree/v3.5.5/data-ingestion-and-preparation/basic-data-ingestion-and-preparation.ipynb) platform tutorial Jupyter notebook presents a Python example code for converting a CSV file to a NoSQL table.
- To run the Jupyter Notebook example, you first need to create the respective notebook service. See Creating a New Service.